How To Ice Dye
Tags: Art Activity, summerWe are excited to announce (to all of you Gen X-ers and Millennials) that…. Tie-Dye is BACK! Follow along on this SUPER EASY method for Ice Dyeing that is sure to bust the heat and boredom this Summer.
This can be a little bit of a messy process so find an area where you can make a mess – and it is a great OUTSIDE project too.
GATHER SUPPLIES:
-
Fabric – natural fibers or high count of those fibers (linen, cotton, hemp, etc.)
-
Powdered Dye – RIT or Tulip brands are easy to find – or get fiber reactive dyes
-
Salt
-
Metal rack or sheet
-
Tub to drain (rack should be larger than tub)
-
Ice (any kind)
-
Towels
-
Spray bottle of water (optional)

PREPARE YOUR FABRIC:
-
Wash fabric to remove sizing (don’t use any fabric softeners or additives)
-
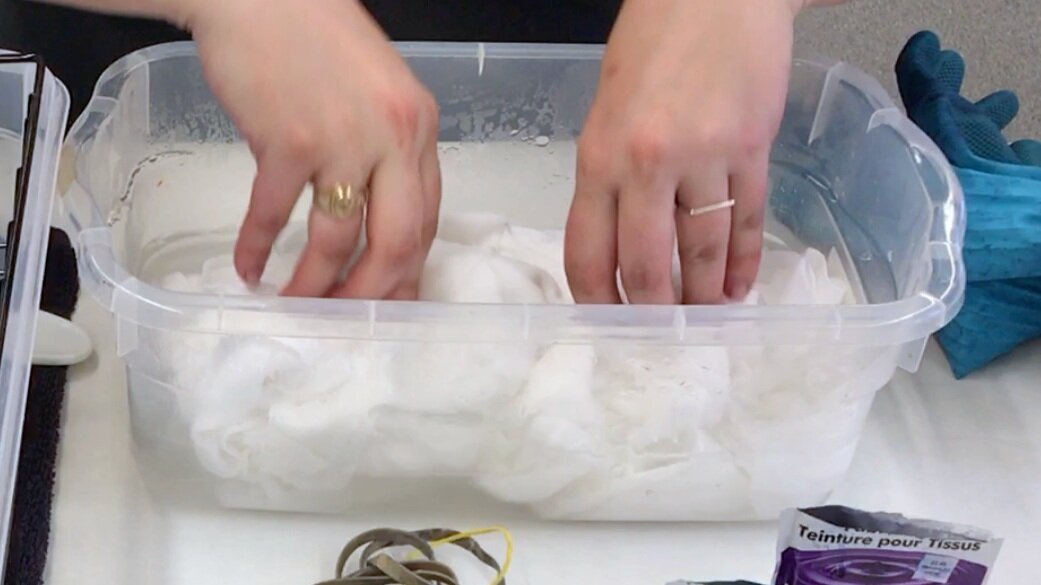
Soak clean fabric in hot salty water (this helps fabric absorb dye better)
-
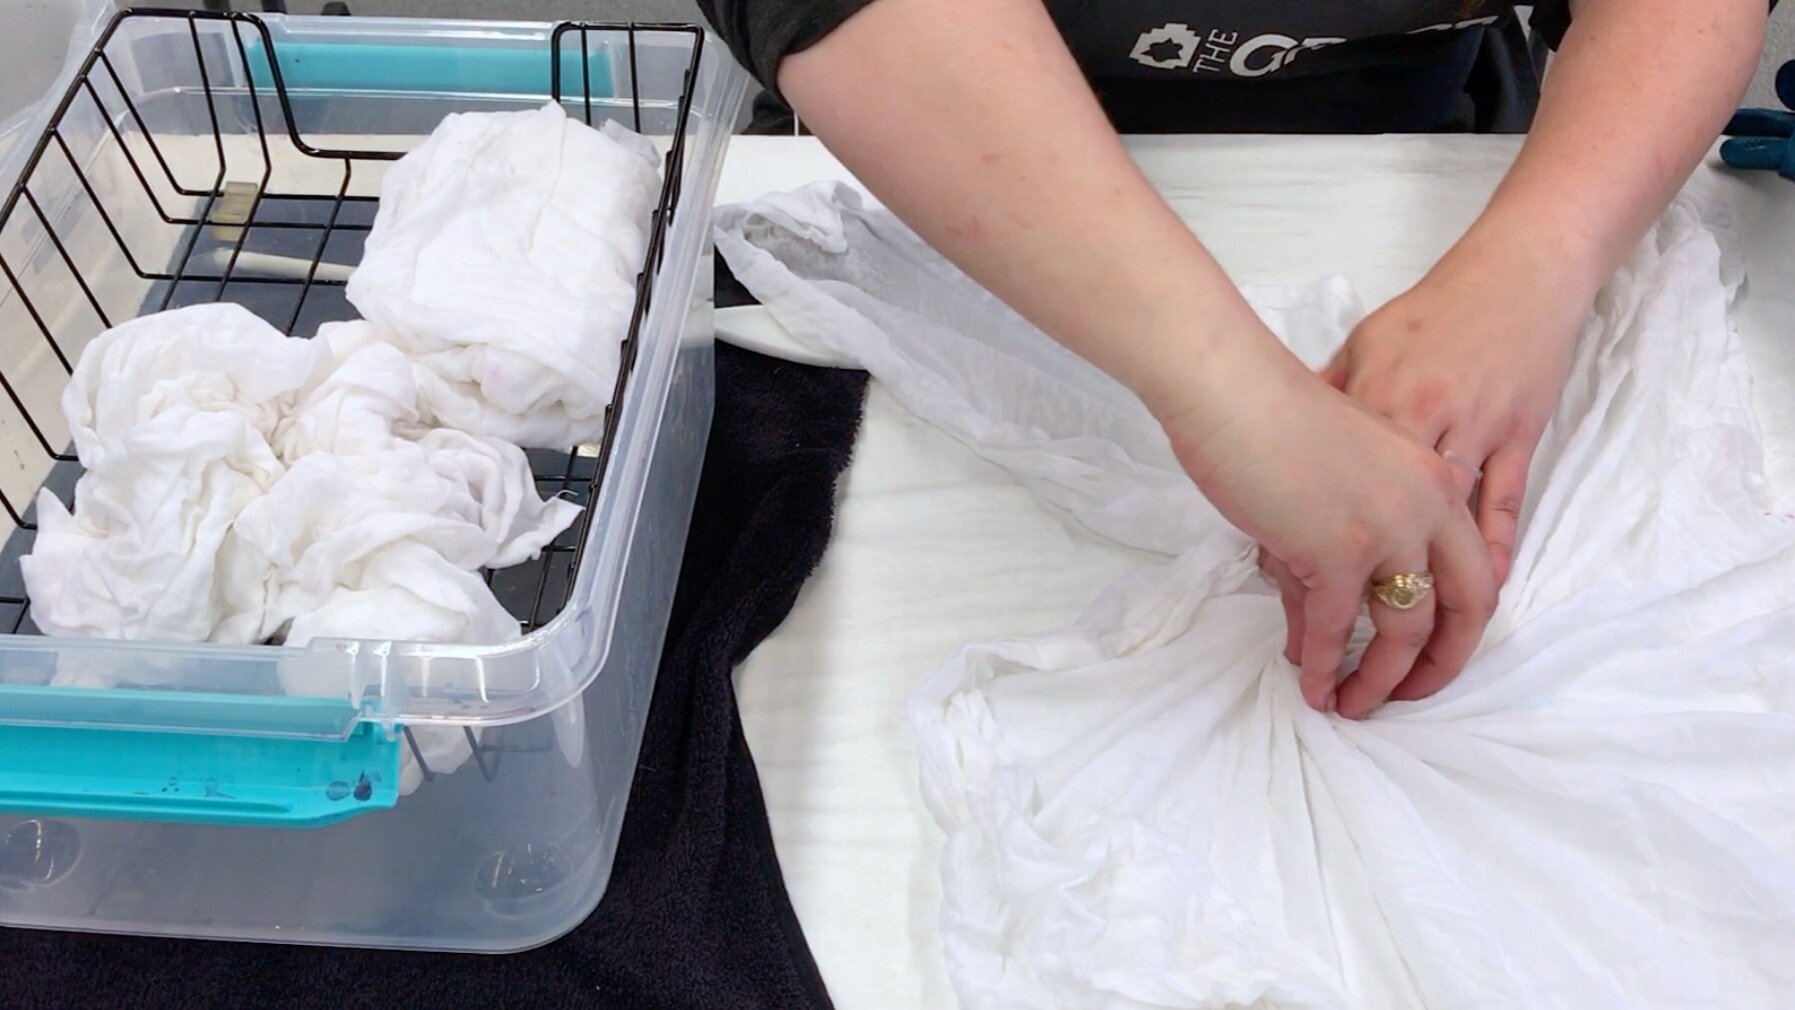
Wring out fabric
ICE DYE PROCESS:
-
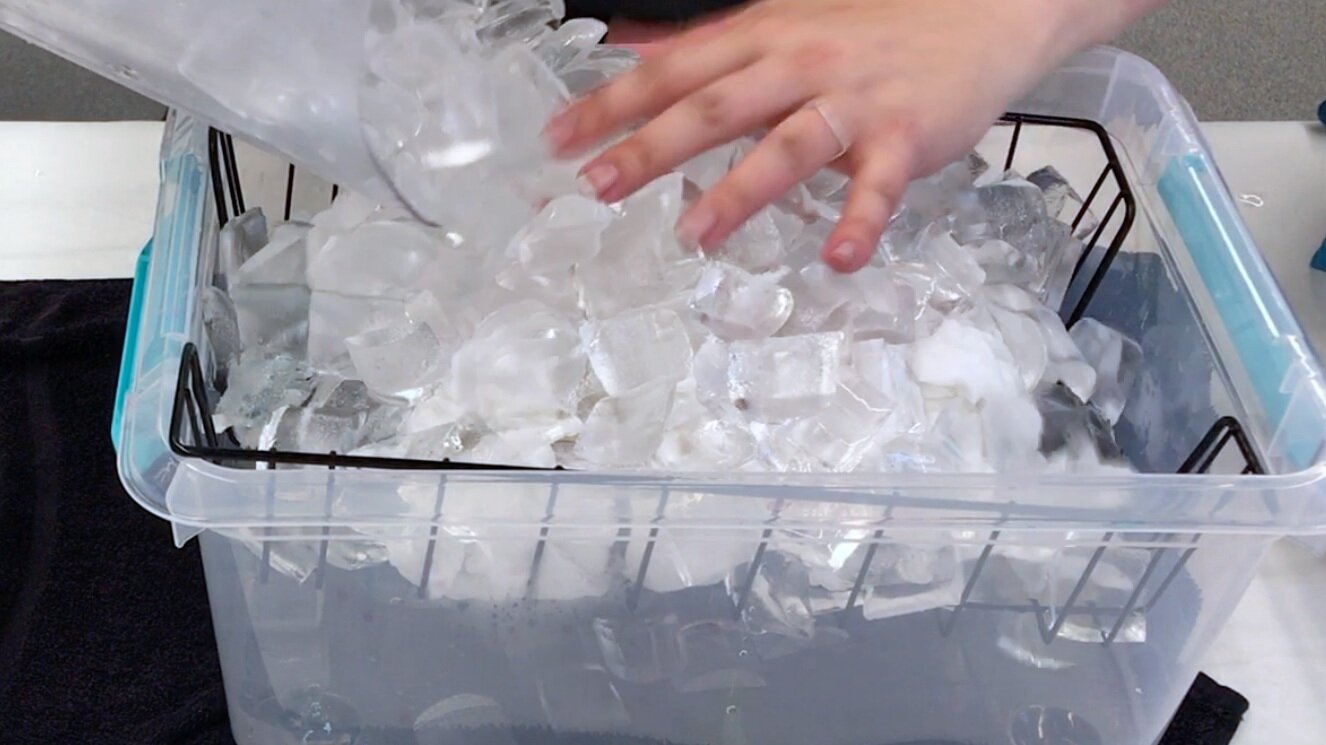
Place rack over tub so dye and ice will drain into tub
-
Place towels under tub or around the edges to catch any extra dye that melts
-
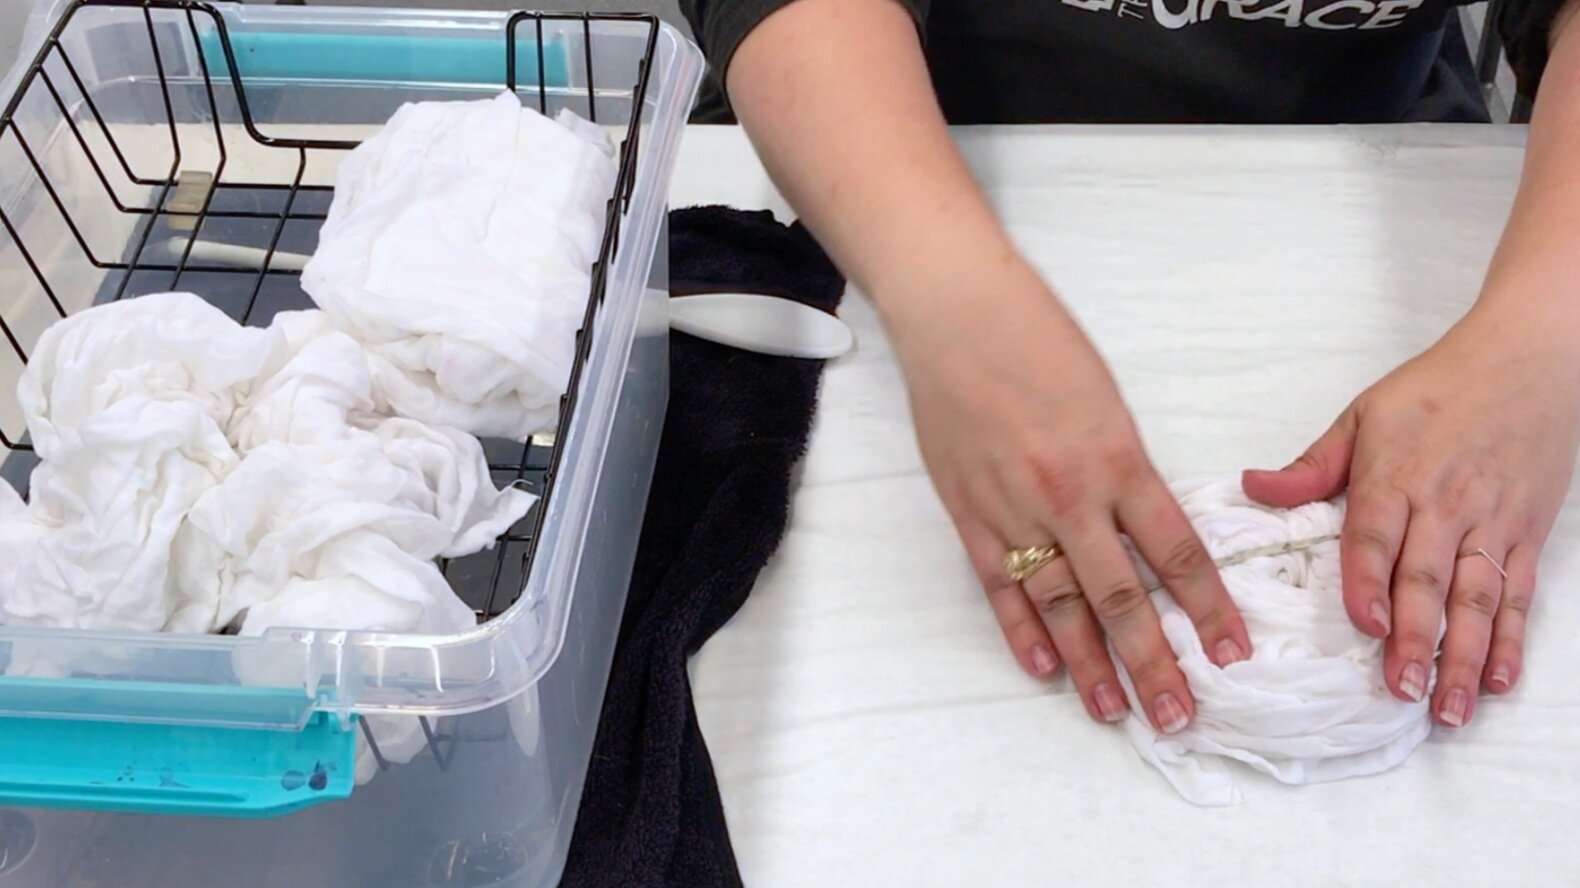
Scrunch up, roll, or fold damp fabric however you prefer and place on rack over tub
-
Cover all fabric completely with ice
-
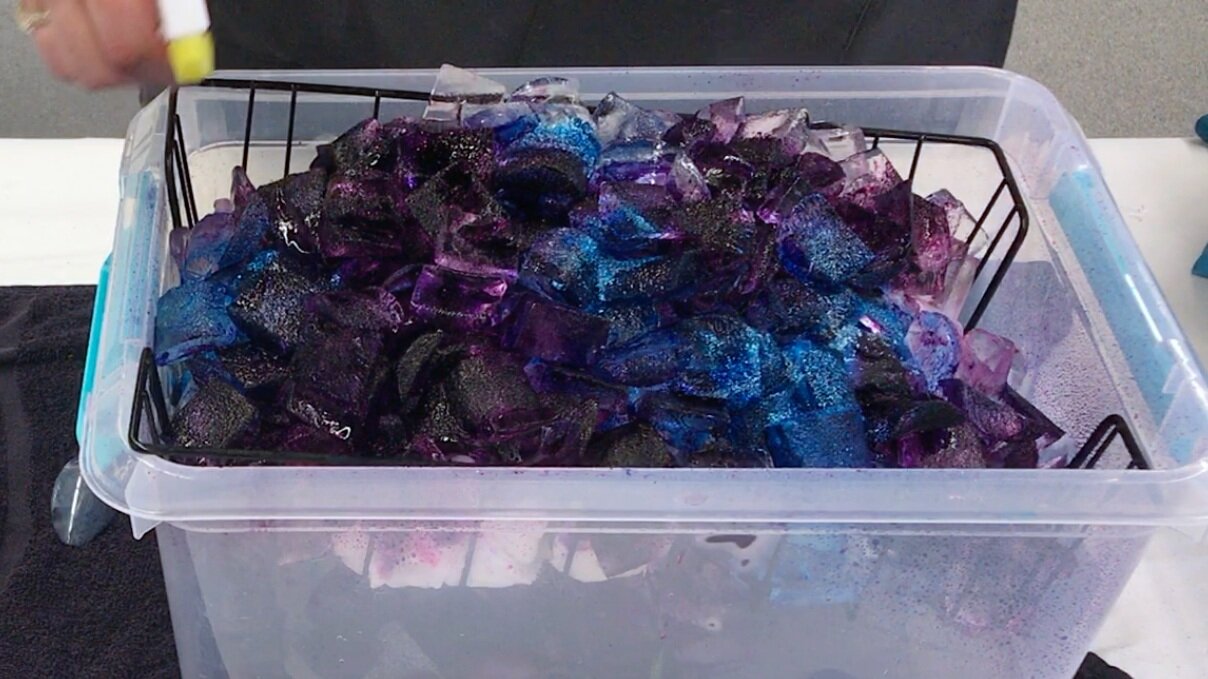
Sprinkle or spoon dye powder over ice – use generous amount and think about how colors will blend as you place
-
Let ice melt completely (you can spray with water every now and then to assist dye in dissolving but it’s not necessary)
-
Let fabric sit to drain at LEAST 8 hours but HIGHLY recommend leaving overnight or 24 hours for best results. We let some sit 8 hours and it was very pale when complete.
-
Rinse fabric in warm/hot water until water runs clear
-
Run through a cold rinse cycle in washer (add a rag or old towel to remove any extra dye)
-
Dry as normal